I have written before that I consider the controls offered by darkroom to be more than adequate on their own (as supported by the many fabulous prints made throughout darkroom’s history). However, it is inescapably true that when you can work on a digital negative first, you have all the controls of the digital darkroom at your disposal in addition to those under the safelights. This inevitably brings its complications (and as you will see adds to steps to be taken) but the precision and creative possibilities open to the printer are mind boggling.
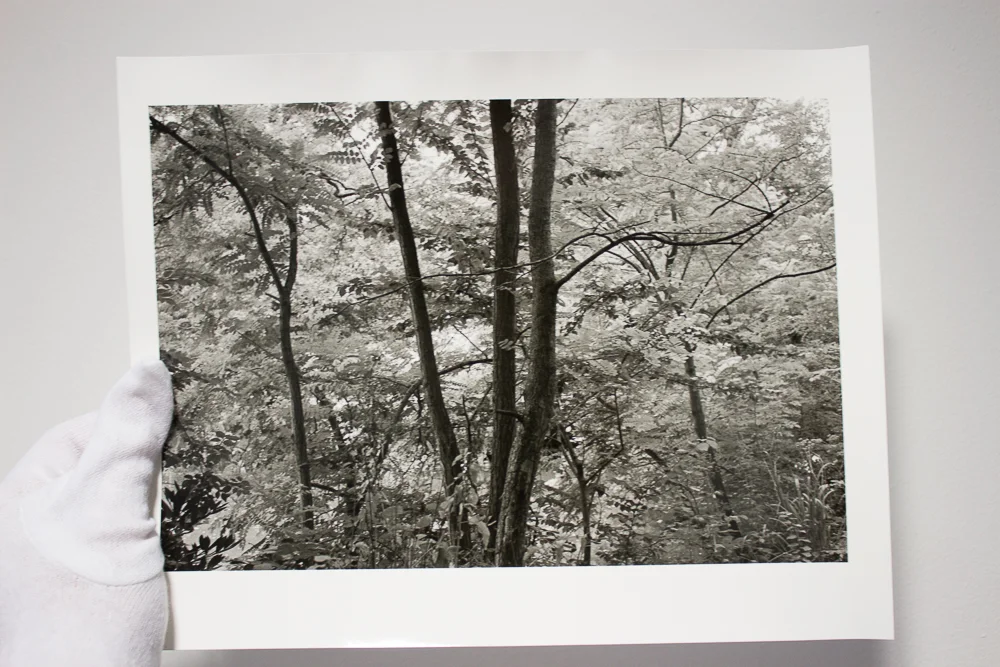
The first step is to establish a minimum exposure time for your paper that will yield a black tone. You can do this with a simple test strip, as you would when testing for negative exposure times. My paper of choice was Ilford’s fine Multigrade Warmtone Glossy. My rationale was that, as well as the fact that I enjoy its tonality, I could process, wash and dry it without the restrictions of fibre based paper.
You next print a step wedge showing a range of tones onto the digital film. These can be found for download on the internet, and are simply a range of different densities of tone running from ‘0’ (white) to ‘100’ (black). I printed mine using Epson's Advanced Black and White driver, through Lightroom.
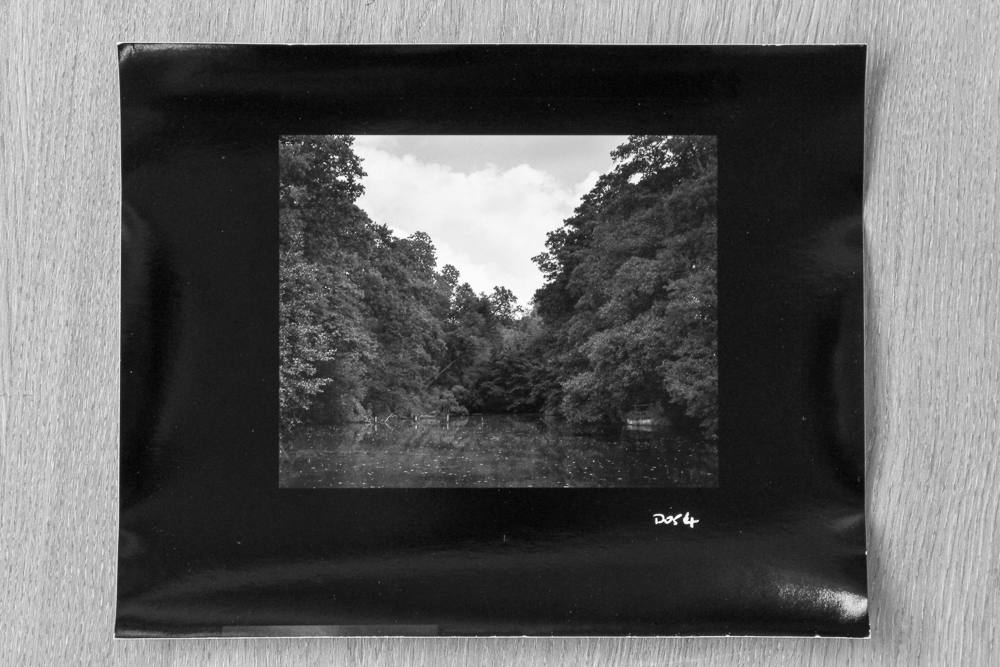
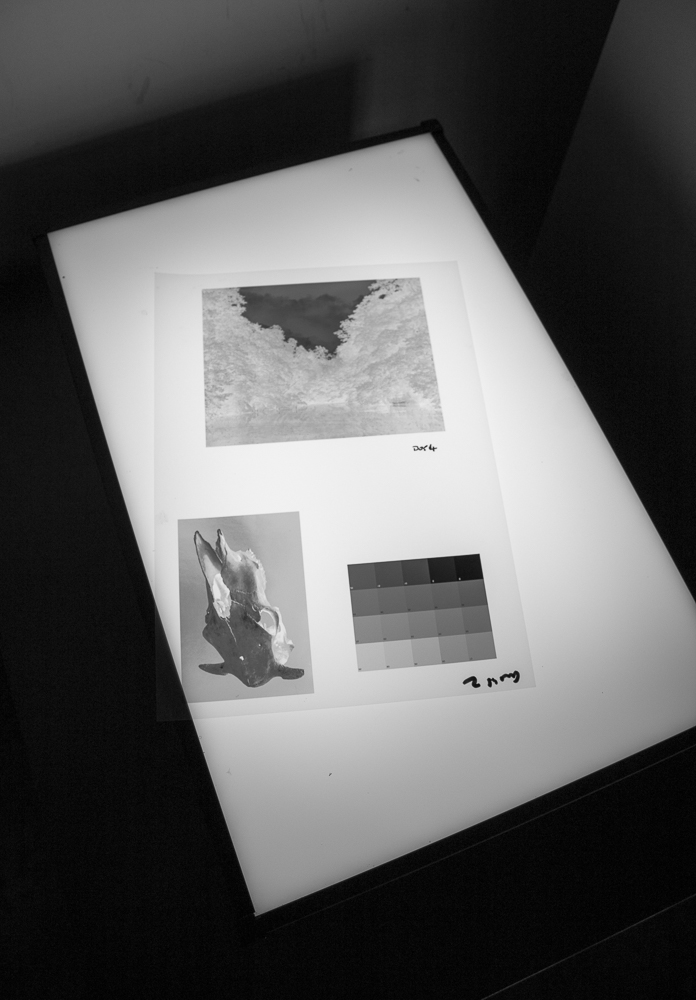
The step wedge is taken into the darkroom and contact-printed at the minimum exposure time for black established in step one. When I exposed the step wedge, I made sure I covered a small section of the paper with opaque card. This creates a reference point representing unexposed paper, or paper white. The resulting print is then dried properly (this must be done to allow for ‘dry down’ of your print tones) and scanned at 300 ppi. I next opened this file in Photoshop, converted it to greyscale, and opened the levels adjustment. I sampled the black and white points to shift the curve so that ‘pure’ black and white are represented. This step is necessary, because we are now creating a model of the darkroom print in, as it were, a virtual space. The white reading is taken from the area of the print that was covered during darkroom exposure, the black from the 100% black section.
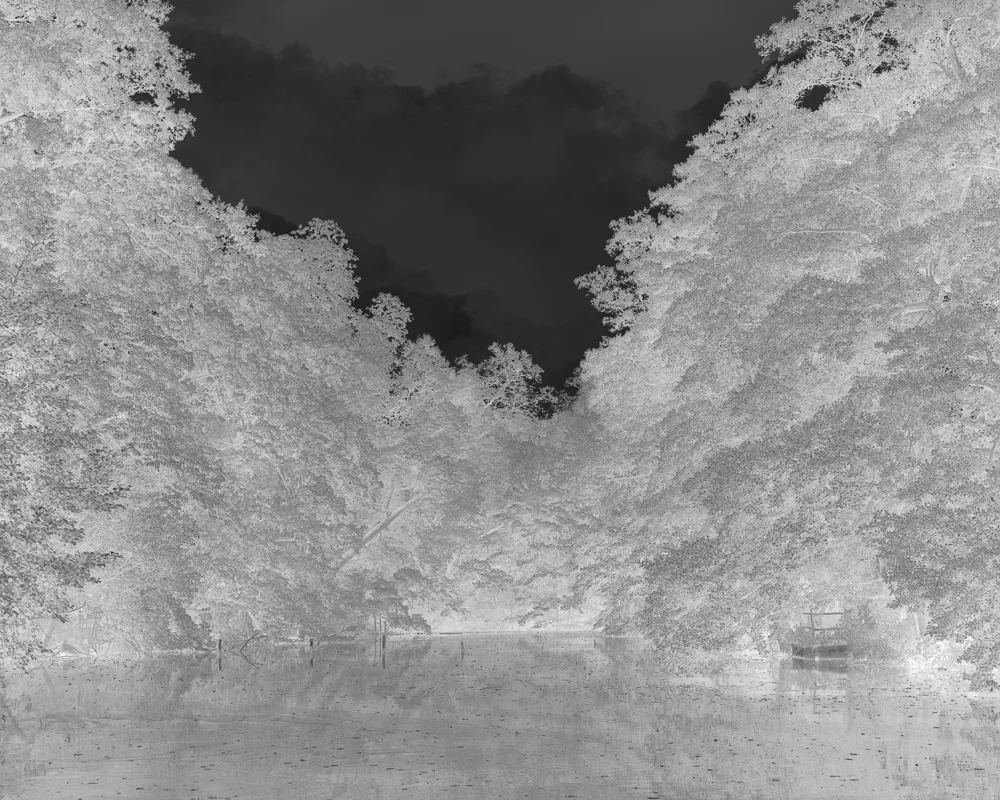
Now comes what is most difficult part. A curve must be constructed to ‘correct’ a processed digital file so that it will print correctly on darkroom paper. You could of course simply invert one such file, print it onto the film and contact print it. I’d almost encourage you to do that, because you will see the distance between digital film and a film negative. It should look pretty horrible tonally, with a whole raft of tones missing.
So what we do is read the tones from the scanned step wedge at intervals of ten to ascertain how our correction will go. This is done using the eyedropper tool in Photoshop. My numbers went 0-4, 5-4, 10-7. 20-14, 30-24, 40-37 and so on. I then built a correction curve by reversing the inputs and outputs and doing a little judging by eye. I looked at numerous accounts of how to do this online and they all yielded slightly different results. I don’t think you can get away from guesswork here. This is alchemy, and labour. You then print your curve-corrected step wedge in the hope that the tones more closely match a healthy, well spaced, sequence of tones. I printed a sample image at the same time because the tonal ‘rightness’ of images is much easier to judge. Again, however, hard work was involved because that meant applying the speculative curve to the image as well as the step wedge! You have to enjoy repetitive processes and the splendid isolation of the darkroom for this work.